|
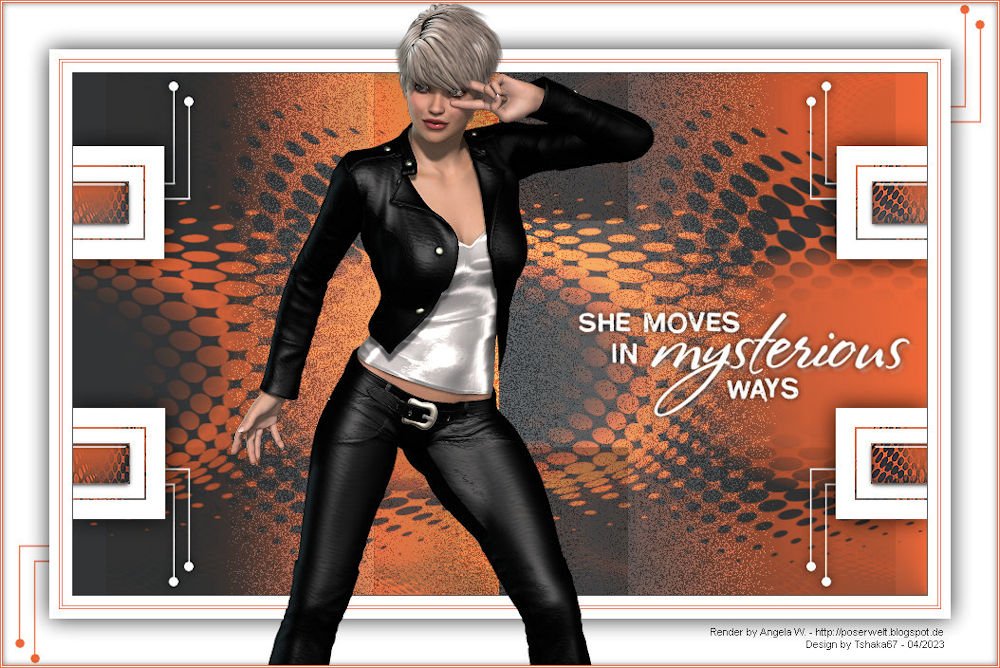
(Imagem Original de Tshaka)
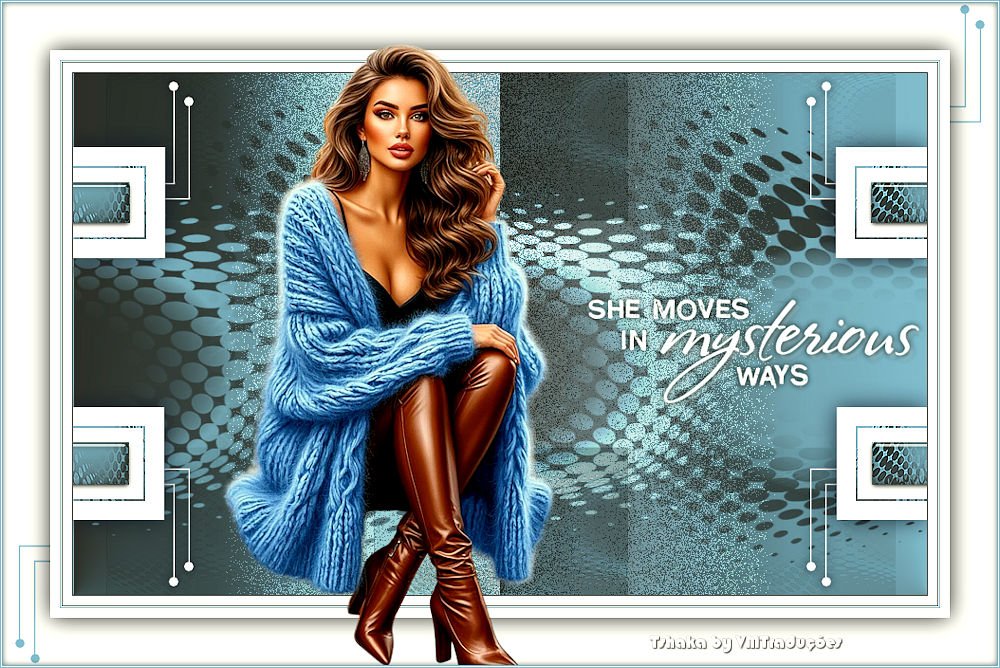
(minha versão)

This tutorial is from who I thank for
letting me translate their tutorials.

Original here

Tubes
Material

Plugins
Eye Candy 5: Impact - Simple -
Toadies
You can find these plugins on the websites of:
Renée
Cloclo
You can also find this tutorial translated into these languages:
(Click on the flag)


|
Observações:
> Abra o material / Duplique (shift+d) / Feche os originais
> Mude o blend mode das layers de forma a combinar com suas cores.
> Nas versões antigas do PSP o Mirror Horizontal=Mirror / Mirror Vertical=Flip /
Pick tool=deformation
> Abra as masks no psp e
minimize
>Ajuste o tamanho dos tubes de
acordo com suas imagens
|
ROTEIRO
Materials used:
1 female tube
1 brush
2 decorations
1 mask
1 selection
***
Save the selection to the PSP Selections folder
Save the brush (both files) to the brushes folder
If it doesn't work, open in PSP - File - Export - Custom Brush -
Name it - OK
***
1
Colors:
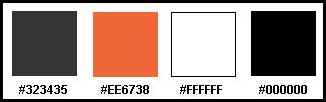
Open your tubes in PSP
Choose a dark color (#323435) for the foreground and a color that
isn't too light (#3ee6738) for the background
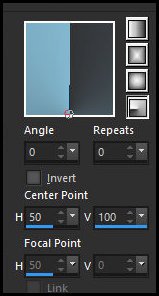
Prepare this Radial gradient
2
Open a new transparent image, 900x550px
Fill with the gradient
Layers - Duplicate
Image - Mirror - Mirror Horizontal
3
Layers - New Mask layer - From Image - Mask [NarahsMasks-1636]
Merge group
Merge visible
4
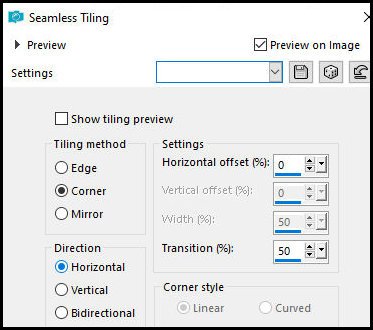
Effects - Image Effects - Seamless Tiling
5
Layers - Duplicate
Image - Resize: 35% - "all layers" unchecked
6
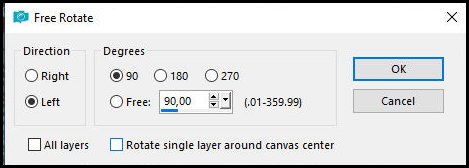
Image - Free Rotate [Left/90]
7
Effects - Image Effects - Seamless Tiling - Direction=Vertical
Effects - Edge Effects - Enhance
8
Selections - Load selection from disk - Selection [SheMoves-Tsha]
Selections - Promote selection to layer
9
Add a new layer
Fill the selection with white
Selections - Modify - Contract: 20
Press Delete
Selections - Modify - Contract: 2
Fill the selection with white
Selections - Modify - Contract: 15
Press Delete
10
Merge Down
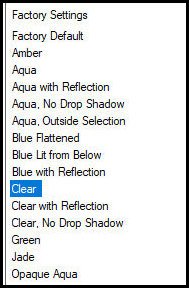
Effects - Plugins - Eye Candy 5: impact - Glass - Preset [clear] -
default
Select none
11
Objects - Align - Center Vertical
Effects - Plugins - Simple - Left Right Wrap
Result 1
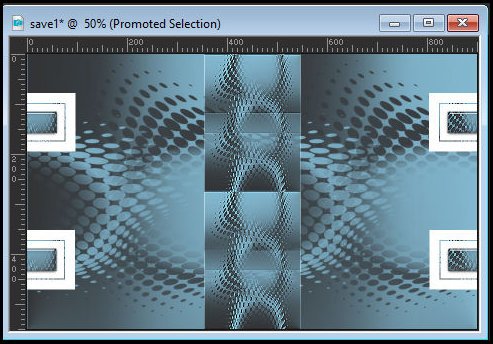
12
Drop Shadow: 0 0 85 35 black
13
Activate the middle layer - Copy of Merged
Selections - Select all
Selections - Float / Selections - Defloat
Add new layer
Fill the selection with white
Select none
14
Effects - Plugins - Unlimited 2 - Toadies - Blur'em!
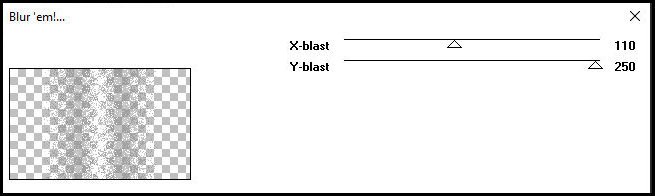
15
Layers - Arrange - Move Down
Blend mode: Overlay
16
Activate the second layer from the top - Copy of Merged
Image - Free rotate - same as before
Effects - plugins - unlimited 2 - Toadies - What are you?
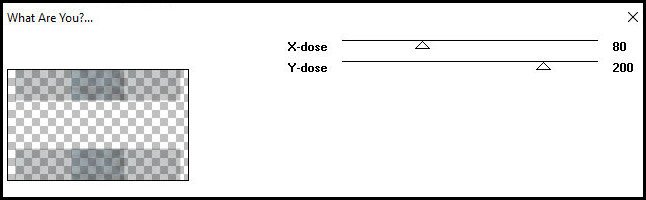
Blend Mode: Multiply
20
Copy [Deco SehMoves Tsha]
Paste as new layer
Drop shadow: 0 0 85 15 black
21
Image - Add borders:
1px - foreground color
10px - white
1px - background color
1px - white
1px - background color
10px - white
22
Selections - Select all
Image - Add borders - 50px - white
Selections - Promote selection to layer
Select none
23
Drop Shadow: 0 0 85 35 black
24
Copy your main tube
Paste as new layer
Adjust size
Position as desired
25
Add new layer
Set foreground color to white
Activate Paint Brush - Configure according to screenshot - Locate
brush [agiBrush09-U2-mysteriousways]

Stamp once or twice with the foreground color
Move the text to where you think it looks best
26
Drop Shadow: 0 0 85 10 black
27
Activate the background layer - Background
Copy tube [Deco2-SheMoves-Tsha]
Paste as new layer
Activate Color change and change to the background color
28
Selections - Select all
Image - Add borders:
1px - background color
1px - white
1px - background color
29
Effects - 3D Effects - Cutout
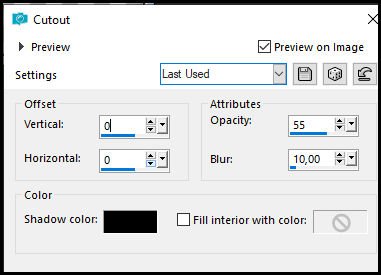
Select none
30
Add credits
Merge all
Save as jpeg

|