|
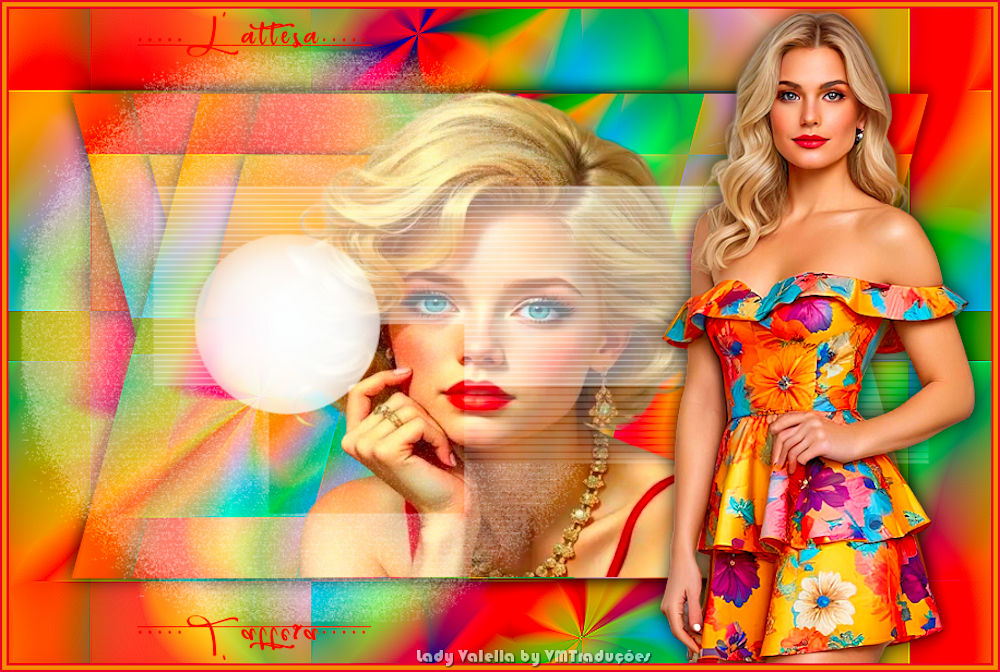
(Tag original de Lady Valella)
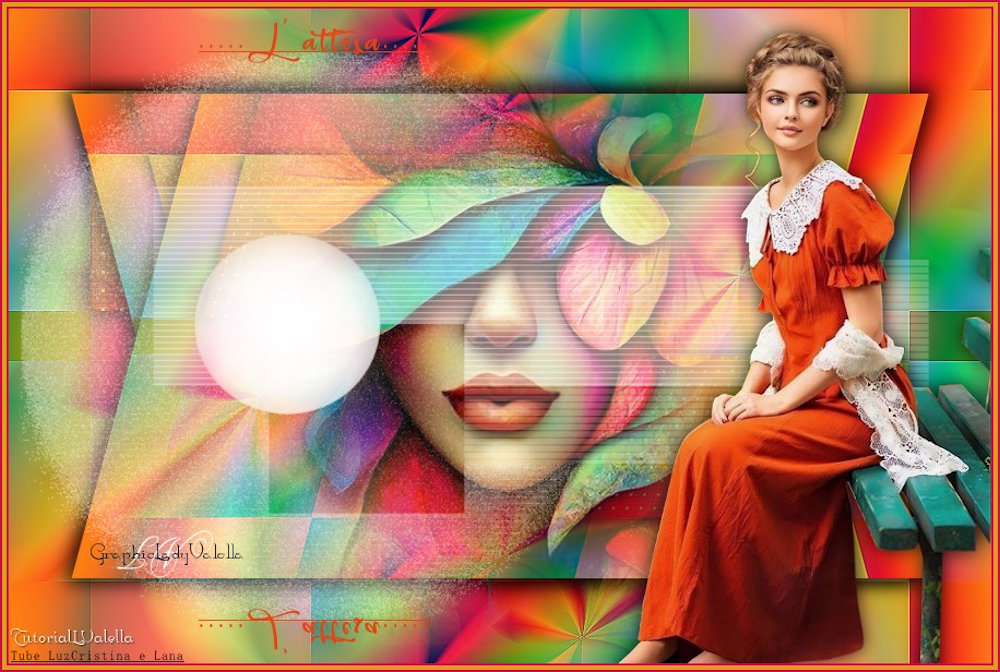
(Minha versão)

This tutorial is from Lady Valella who I thank for
letting me translate their tutorials.

Original here

Tubes

Material

Plugins
Mehdi - Mura's meister
You can find these plugins on the websites of:
Renée
Cloclo
You can also find this tutorial translated into these languages:
(Click on the flag)


|
Notes:
> Open the material / Duplicate (shift+d) / Close the originals
> Change the blend mode of the layers to match their colors.
> In older versions of PSP, Mirror Horizontal=Mirror / Mirror Vertical=Flip /
Pick tool=deformation
> Open the masks in psp and
minimize
>Adjust the size of the tubes according to your images
|
SCRIPT
Images:
2 female tubes
*
Material

*
My images
*
Place the selection in the PSP Selections folder
*
Step 1
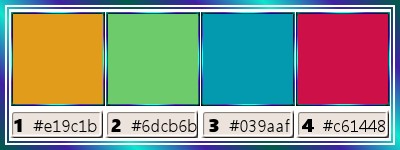
Colors
Open a new transparent image with 900x600px
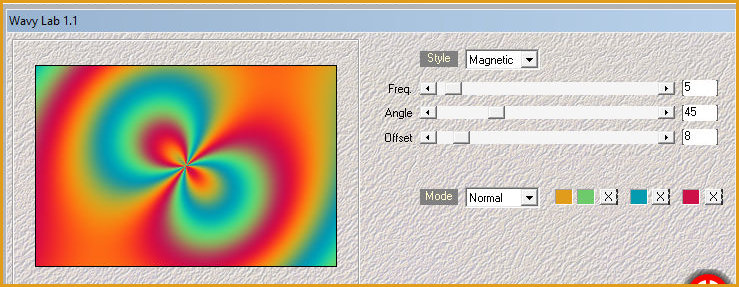
Effects / Plugins / Mehdi / Wavy Lab 1.1
Colors: 1-2-3-4
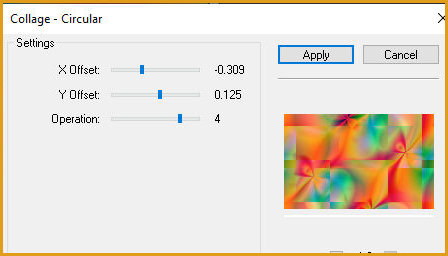
Effects / Plugins / FM Tile Tools / Collage circular
Effects / Edge Effects / Enhance
Step 2
Selections / Load selection from disk / Selection [Attesa LV23.pspselection]
Selections / Promote selection to layer
Effects / Plugins / Xero / Fritillary - default
Effects / Texture Effects / Weave - color #ffffff/#e2c655

Drop shadow: 0 0 85 25 black
Select none
Merge visible
Step 3.
Layers / Duplicate
Image / Resize: 74% - all layers unchecked
Drop shadow - same as before
Rename to Raster 1
Layers / Duplicate
Rename to Raster 2
Activate Raster 1 layer
Effects / Geometric Effects / Skew
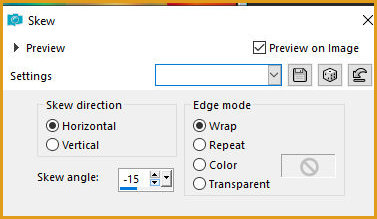
Activate Raster 2 layer
Effects / Geometric Effects / Skew, this time with skew angle=15
Merge visible
Step 4.
Copy [7965-Luz Cristina]
Paste as a new layer
Image / Resize: 80% - all layers unchecked
Adjust the size
Step 5.
Add a new layer
Paint with white color
Layers / New mask layer / From Image / Mask [NarahsMasks 1729]
Merge group
Blend Mode: Screen
Merge visible
Step 6.
Copy [LD Model] [1378] Paste as a
new layer
Image / Resize: 85% - all layers unchecked
Position bottom right as per model
Drop shadow as before
Step 7
Copy [title 1]
Paste as a new layer
Position top left (see model)
If necessary, colorize with a matching color
Layers / Duplicate
Image / Mirror / Mirror Vertical
Step 8
Image / Add borders / 2px / color 4
Image / Add borders / 4px / color 1
Image / Add borders / 2px / color 4
Add credits
Merge all
Save as jpeg

|