|
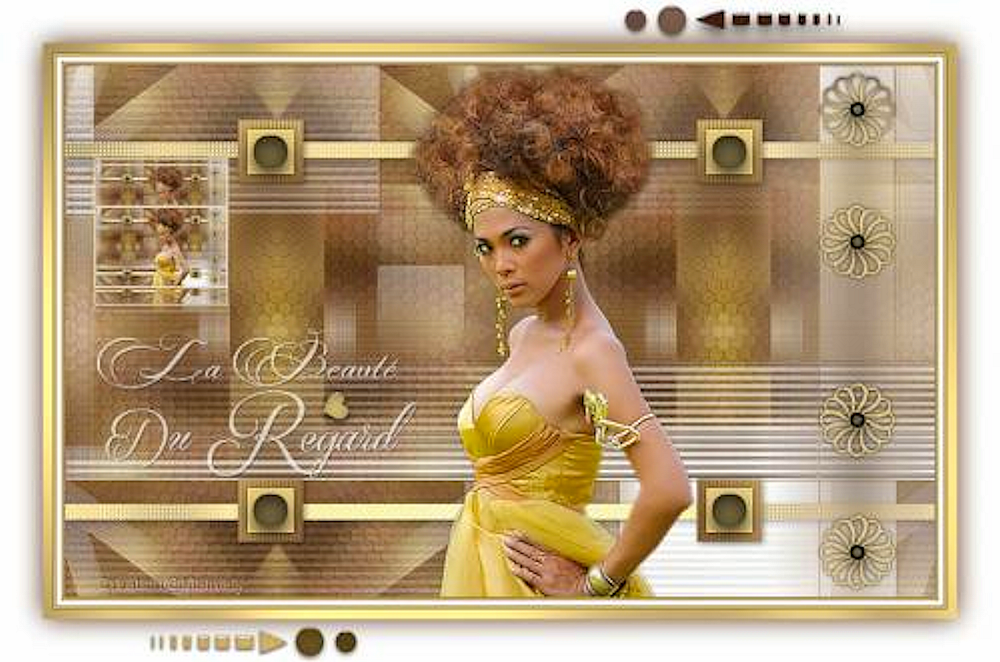
(Tag original de Mamiely)
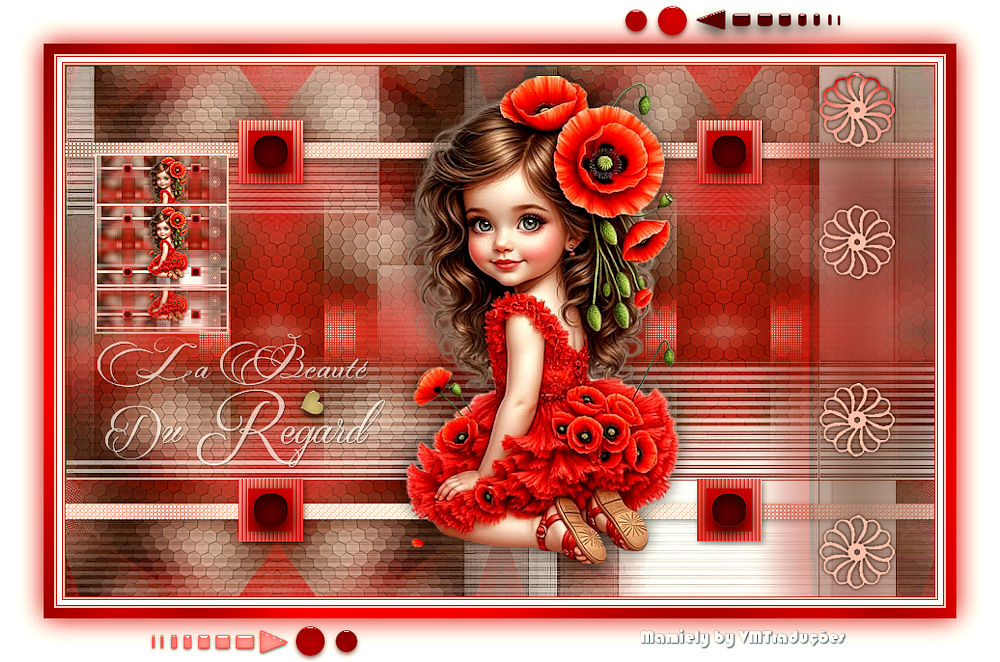
(Minha versão)

This tutorial is from Mamiely who I thank for
letting me translate their tutorials.

Original here
Tubes

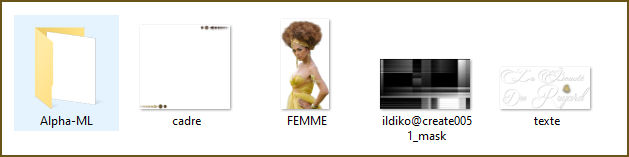
Material

Plugins
Forest AFS - Unlimited 2 - VM
Extravaganza - Mura's meister - Graphic Plus - Eye Candy 5: Impact -
Toadies
You can find these plugins on the websites of:
Renée
Cloclo
You can also find this tutorial translated into these languages:
(Click on the flag)


|
Notes:
> Open the material / Duplicate (shift+d) / Close the originals
> Change the blend mode of the layers to match their colors.
> In older versions of PSP, Mirror Horizontal=Mirror / Mirror Vertical=Flip /
Pick tool=deformation
> Open the masks in psp and
minimize
>Adjust the size of the tubes according to your images
|
SCRIPT
Images:
1 female tube
*
Material
*
My Images
*
Colors: foreground: #e5cf8d - background: #593723
Open the Alpha channel file [Alpha-ML]
Duplicate (shift+d) / Close the original
Prepare a Radial gradient
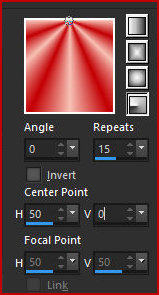
Paint the image with this gradient
Effects / Image Effects / Seamless Tiling - default
Adjust / blur / Gaussian Blur: 35
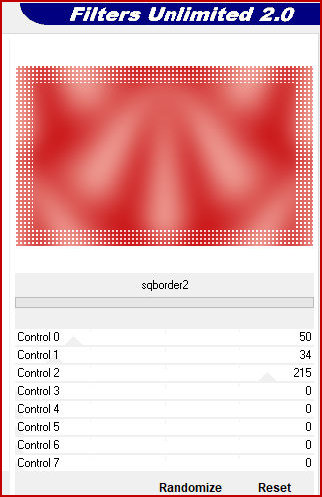
Effects / Plugins / Unlimited 2 / Forest AFS / sqborders2
Adjust / Sharpness / Sharpen
Effects / Plugins / Unlimited 2 / VM Extravaganza / Transmission [4
0 5]
Add a new layer
Selections / Select all
Selections / Modify / Contract: 50
Copy the female tube
Paste it into the selection
Select none
Effects / Image effects / Seamless Tiling - default
Adjust / Blur/Gaussian Blur: 25
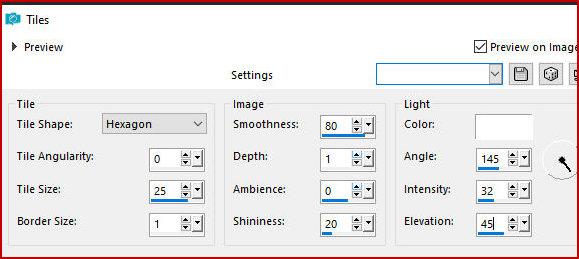
Effects / Texture Effects / Tiles
Merge down
Layers/Duplicate
Image/Resize: 85% - all layers unchecked
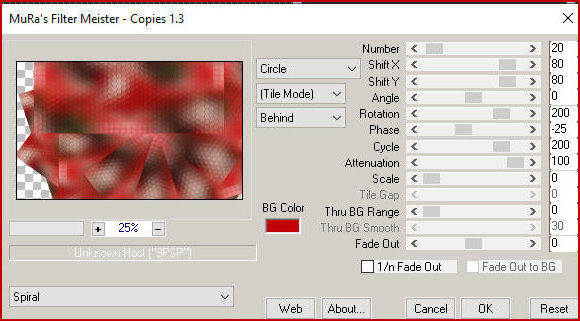
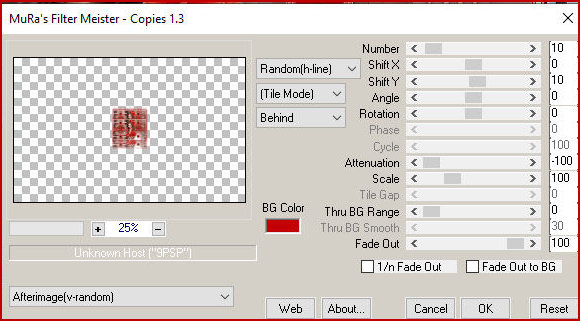
Effects / Plugins / Mura's meister / Copies - Preset [spiral]
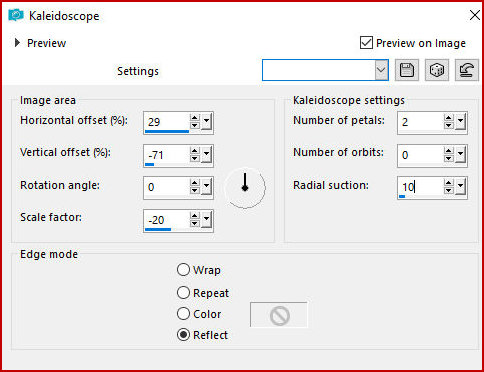
Effects / Reflection Effects / Kaleidoscope
Add new Layers
Paint with white color
Layers / New Mask Layer / From Image / Mask [ildiko@create0051-Mask]
Merge group
Effects / Edge Effects / Enhance more
Add new layer
Selections / Load selection from alpha channel / Selection 1
Color the selection with the color #e5cf8d
Effects / plugins / Graphic Plus / Cross shadow - Intensity=50
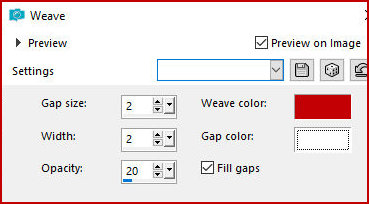
Effects / Texture Effects / Weave
Drop shadow: 2 2 45 10 black
Select none
Add new layer
Selections / Load selection from alpha channel / Selection 2
Paint with the gradient from the beginning
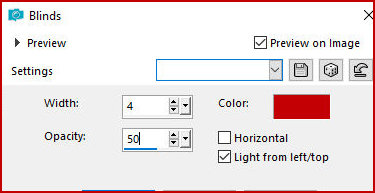
Effects / Texture Effects / Blinds
Drop shadow: 2 2 45 10 black
Select none
Add new layer
Selections / Load selection from alpha channel / selection 3
Paint with the color #e5cf8d
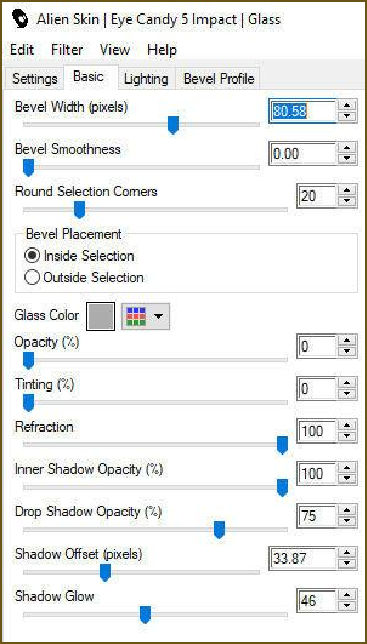
Effects / Plugins / Eye Candy 5: impact / Glass
Drop Shadow: 0 0 45 10 black
Select none
Adjust/Sharpness/Sharpen
Activate the background layer
Selections / Load selection from alpha channel / Selections 4
Selections / Promote selection to layer
Layers / Arrange / Bring to top
Select none
Adjust/Blur/Gaussian Blur: 20
Drop shadow: 0 0 75 20 black
Effects / Plugins / Toadies / What are you? - Default
Add new layer
Selections / Load selection from alpha channel / Selection 5
Paint with the gradient from the beginning
Select none
Drop shadow: 0 0 85 5 black
Effects / Plugins / Eye Candy 5: Impact / Glass - same as before
(Note: this effect didn't look the same as the original, so I didn't
include it)
Copy the female tube
Paste as a new layer
Activate the Pick Tool: X=351 Y=11 Press M
Drop shadow of your choice
Merge all
Image / Add borders / 1px / #593723
Image / Add borders / 2px / #e5cf8d
Image / Add borders / 1px / #593723
Image / Add borders / 5px / #white
Image / Add borders / 1px / #593723
Image / Add borders / 2px / #e5cf8d
Image / Add borders / 1px / #593723
Copy (edit/copy)
Paste as new layer
Image/Resize: 15% - all layers unchecked
Effects / Plugins / Mura's Meister / Copies
Activate the Pick Tool X=43 Y=104 Press M
Adjust/Sharpness/Sharpen
Copy the tube [texte]
Paste as new layer
Activate the Pick Tool and configure: X=46 Y=286 Press M
Adjust/Sharpness/Sharpen
Merge all
Image / Add borders / 10px / #e5cf8d
Select this edge with the Magic Wand (tolerance/feather=0)
Effects / plugins / Graphic Plus / Cross shadow - Intensity=50
Select none
Selections / Select all
Image / Add borders / 45px / white
Drop shadow: 0 0 100 40 #593723
Select None
Copy the tube [cadre]
Paste as a new layer
Image / Resize: 900px (width)
Add credits
Merge all
Save as jpeg

|