|

This tutorial is from Mamiely who I thank for
letting me translate their tutorials.

Original here
Tubes

Material

My images:
Here
Plugins
Mehdi - Italian Editors Effects -
Simple -Graphic Plus
You can find these plugins on the websites of:
Renée
Cloclo
You can also find this tutorial translated into these languages:
(Click on the flag)


|
Notes:
> Open the material / Duplicate (shift+d) / Close the originals
> Change the blend mode of the layers to match their colors.
> In older versions of PSP, Mirror Horizontal=Mirror / Mirror Vertical=Flip /
Pick tool=deformation
> Open the masks in psp and
minimize
>Adjust the size of the tubes according to your images
|
SCRIPT
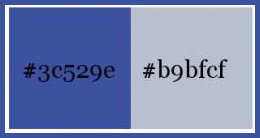
Colors:
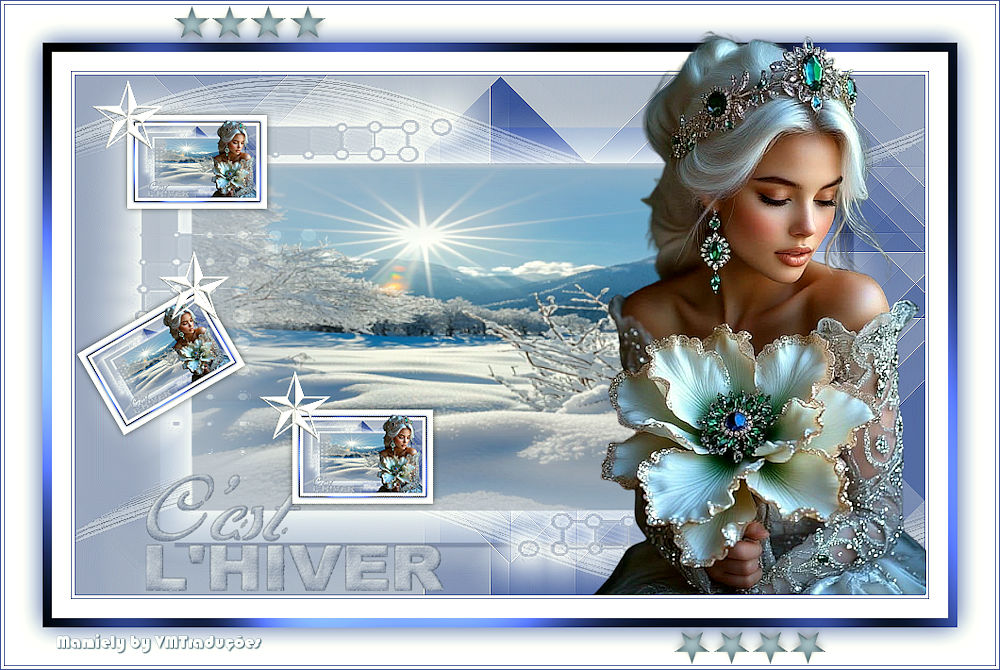
Open a new transparent image 900x550px
Prepare a Radial gradient
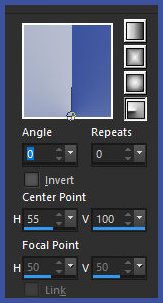
Paint the image with this Radial gradient
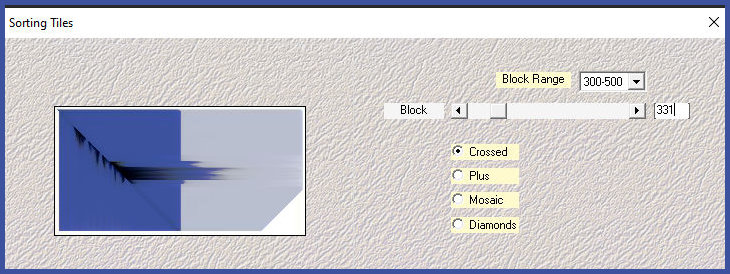
Effects / Plugins / Mehdi / Sorting tile
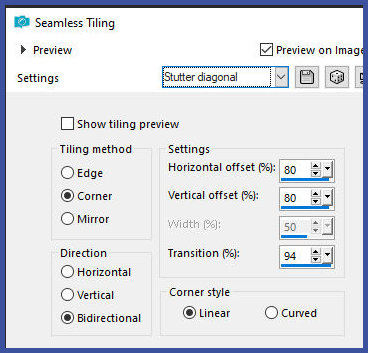
Effects / Effects / Image Effects / Seamless Tiling
Effects / Plugins / unlimited 2 / Italian Editors effects / Ghost
Effect [20 20]
Effects / Edge Effects / Enhance
Copy the tube [deco-01 ML]
Paste as a new layer
Adjust / Sharpness / Sharpen
Add a new layer
Paint with the color #b9bfce
Layers / New Mask Layer / From Image / Mask [Masque.hiver]
Effects / Edge Effects / Enhance
Merge group
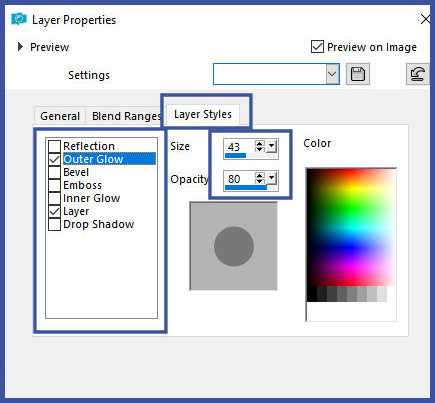
Layers / Properties - Click on the Layers Styles tab - click on the
Outer Glow option and configure the rest as shown in the screenshot
Activate the background layer
Layers / Duplicate
Image / Resize: 80% - all layers unchecked
Blend Mode: Soft Light
Drop Shadow: 5 15 75 2.00 black
Activate the bottom layer
Effects / Plugins / Simple / Blintz
Adjust/Sharpness/Sharpen
Activate the top layer
Merge all
Image / Add borders / 1px / #3c529e
Image / Add borders / 3px / white
Image / Add borders / 1px / #3c529e
Image / Add borders /20px /white
Image / Add borders / 10px / #3c529e
Select this 10px border with the Magic Wand (tolerance/feather=0)
Effects / plugins / Graphic Plus / Cross Shadow - default
Repeat Cross Shadow
Select none
Selections / Select all
Image / Add borders / 40px / white
Drop shadow: 0 0 100 40 #3c529e
Select none
Image / Add borders / 1px / #3c529e
Image / Add borders / 3px / white
Image / Add borders / 1px / #3c529e
Copy the landscape tube [Tez4jf9mvz8dMBnS6WvytHRuHDA]
Paste as a new layer
Copy the character tube [xsLvPDneGBJmFbXHJiaNLalLTVY]
Paste as a new layer
Activate the Pick Tool and configure: X=559 - Y=35
Adjust / Sharpness / Sharpen
Copy the text tube [texte c'est l'hiver]
Paste as a new layer
Position according to the model
Adjust / Sharpness / Sharpen
Merge all
Copy
Paste as a new layer
Image / Resize: 14% - all layers unchecked
Activate the Pick Tool and configure: X=135 - Y=122 - Press M
Layers/Duplicate
Image / Free Rotate [left / 30]
Activate the Pick Tool and configure: X=82 - Y=301 - Press M
Layers/Duplicate
Image / Free Rotate [right/30]
Activate the Pick Tool and set: X=308 - Y=433 - Press M
Merge down - 2 times
Drop shadow: 0 0 55 10.00 black
Copy the tube [deco etoile]
Paste as new layer
Activate the Pick Tool and configure: X=97 - Y=68 - Press M
Copy the tube [cadre étoile]
Paste as new layer
Merge all
Image/Resize: 900px (width)
Put signatures
Merge all
Save as jpeg

|