|

This tutorial is from STARDESIGNPSP who I thank for
letting me translate their tutorials.

Original here

Tubes

Tubes: Stella
Material

Plugins
Mura's Meister
You can find these plugins on the websites of:
Renée
Cloclo
You can also find this tutorial translated into these languages:
(Click on the flag)


|
Notes:
> Open the material / Duplicate (shift+d) / Close the originals
> Change the blend mode of the layers to match their colors.
> In older versions of PSP, Mirror Horizontal=Mirror / Mirror Vertical=Flip /
Pick tool=deformation
> Open the masks in psp and
minimize
>Adjust the size of the tubes according to your images
|
SCRIPT
INSTRUCTIONS
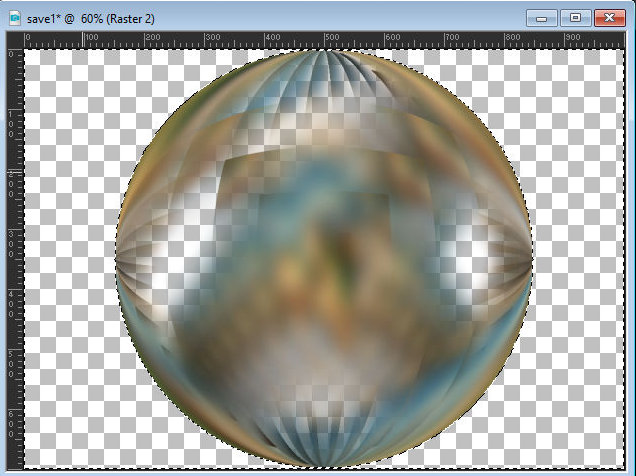
1.
Open a new transparent image with
1000x700px
Copy the image [MISTED_NMCRIACOES_164]
Paste it as a new layer
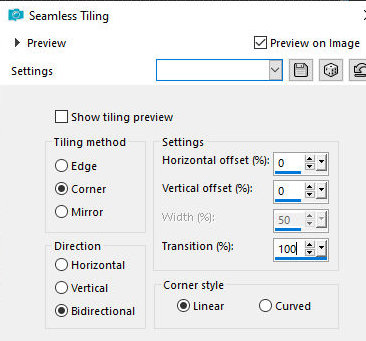
Effects / Image Effects / Seamless Tiling
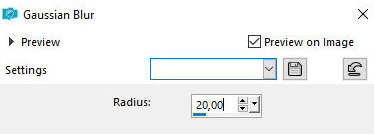
Adjust / blur / Gaussian Blur 20
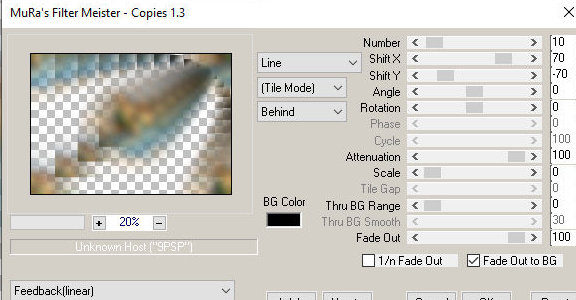
Effects Plugins / Mura's Meister / Copies
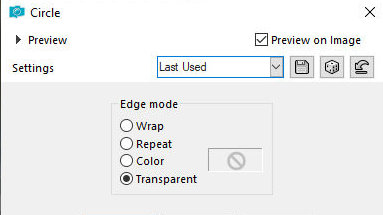
Effects / Geometric Effects / circle - Transparent
2.
Layers / Duplicate
Image / Flip / Flip Vertical
Layers / Duplicate
Image / Mirror / Mirror Horizontal
Activate the top layer
Merge Down - 2 times
Select the transparent areas of the image with the Magic Wand
Activate the bottom layer
Selections / Invert
Paint the layer with the color #987B54
Select none
Merge visible
3.
Copy the landscape again
[MISTED_NMCRIACOES_164]
Paste it as a new layer
Do not move
*
In case of using If another
image is larger than the circle, resize it or follow these steps:
- Activate the circle layer
- Selections / Selection All
- Selections / Float / Selections / Defloat
- Selections / Invert
- On the landscape layer
- Press Delete
- Select none
*
Merge Visible
4.
Image / Resize: 80% - all layers
unchecked
Adjust / Sharpen / Sharpness
Activate the Pick Tool and configure: X=31 - Y=72 - Press M
Drop shadow of your choice (optional)
5.
Add a new layer
Layers / Arrange / Send to Bottom
Selections / Select all
Copy the tube [rr_oct18_movies_water5]
Paste it into the selection
Select none
Layers / Duplicate
Image / Mirror / Mirror Horizontal
Layers / Properties / Blend mode: Overlay
6.
Activate the layer above (the
circle layer)
Layers / Duplicate
Activate the layer below (original)
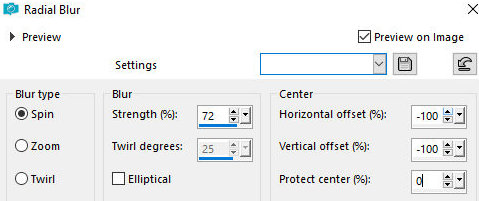
Adjust/Blur/Radial Blur
Layers / Properties / Blend mode: Hard Light
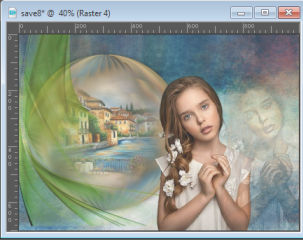
7.
Activate the top layer
Copy the tube [children_01]
Paste as a new layer
Position according to the model
8.
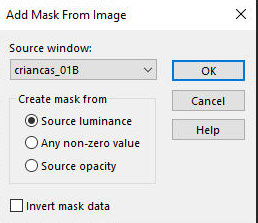
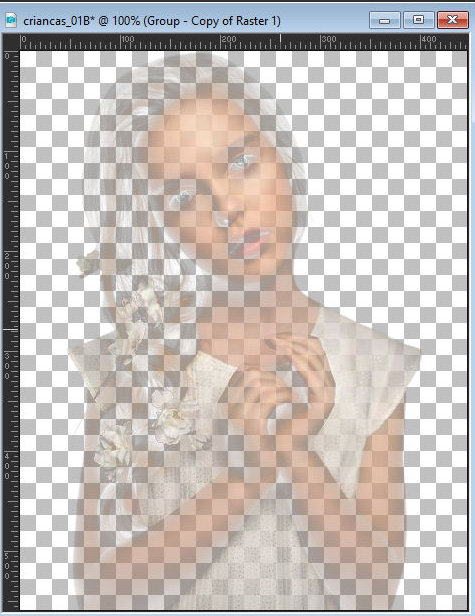
Open the tube [children_01] again
in the PSP workspace
Layers / New Mask Layer / From Image / Mask [children_01]
Merge Group
Copy this image and close without saving
Return to your main image
Paste as a new layer
Layers / Arrange / Move down
Position according to the model
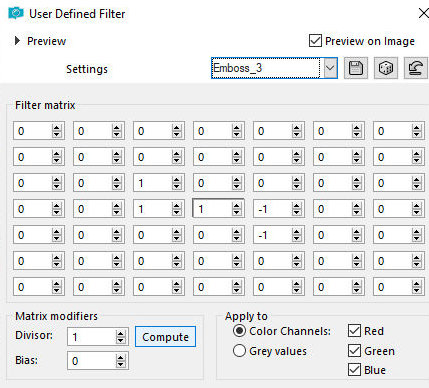
Effects / User Defined Filter / Emboss 3
Drop Shadow: 0 0 45 15 black
Layers / Properties / Blend Mode: Hard Light / Opacity: 40%
Drop shadow same as before
9.
Copy the tube
[Deco8e1_Silvie_30.06.222]. Paste as a new layer
Layers / Arrange / Move down - 2 times
Image / Mirror / Mirror Horizontal
Position it along the left edge as per the model
Activate the Pick Tool - mode: scale
Click on the bottom center node and drag down to the edge
Press M
Layers / Properties / Blend Mode: Burn
10.
Copy the tube [SCS_EndlessLove_PetalShower]
Paste as a new layer
Layers / Arrange / Bring to top
Image / Resize: 45% - all layers unchecked
Image / Mirror / Mirror Horizontal
Position as per the model
Adjust / Sharpness / Sharpen
Drop Shadow: 0 0 45 5 black
11.
Layers / Duplicate
Layers / Arrange / Move down / 2 times
Position it as per the model
Layers / Properties / Blend Mode: Dissolve / Opacity: 25
12.
Activate the top layer
Copy the WordArt [Riet_Tekst Thank you_385_220418]
Paste as a new layer
Image / Negative image
Position according to the model or as you prefer
Layers / Properties / Opacity: 80%
Drop Shadow of your choice
13
Border: 1px / white
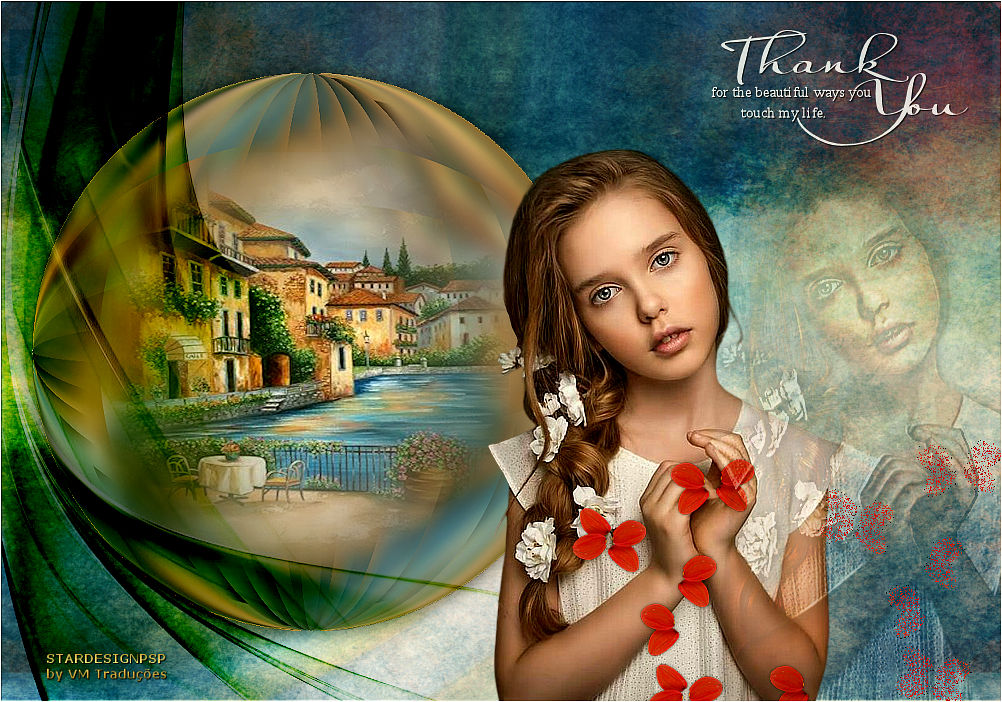
Add signatures
Merge all
Save as jpeg

Tradução feita por Vera Mendes em 23/12/2025. Paulo
Afonso/BA |