|
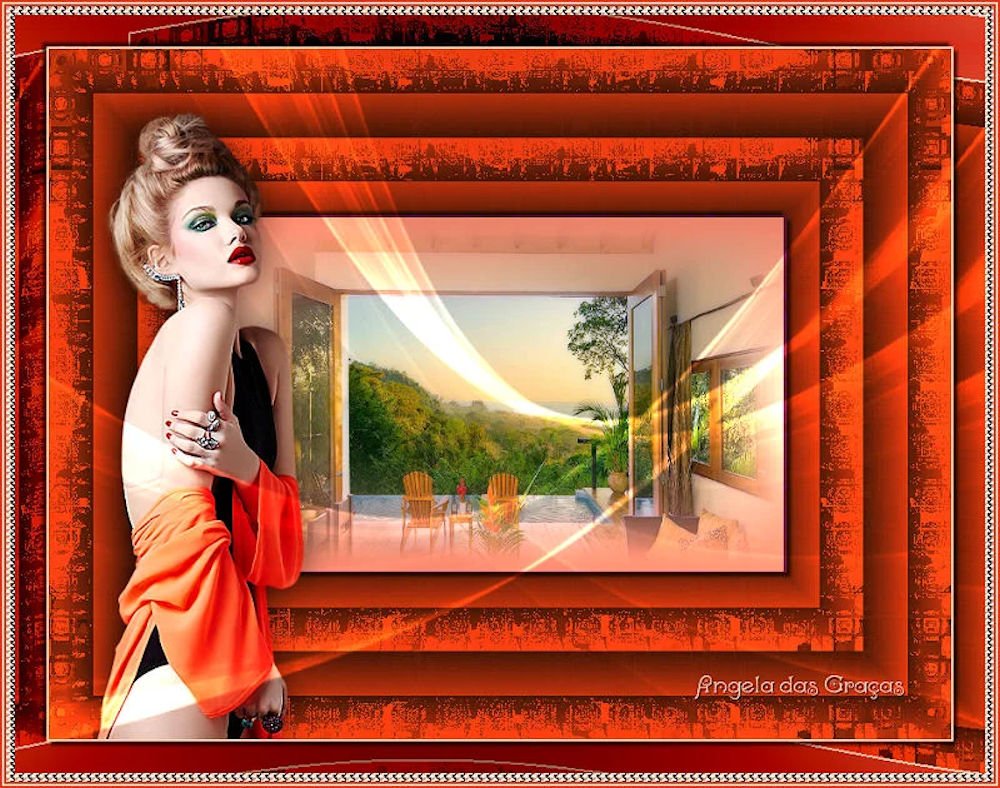
(imagem original de Angela das
Graças)
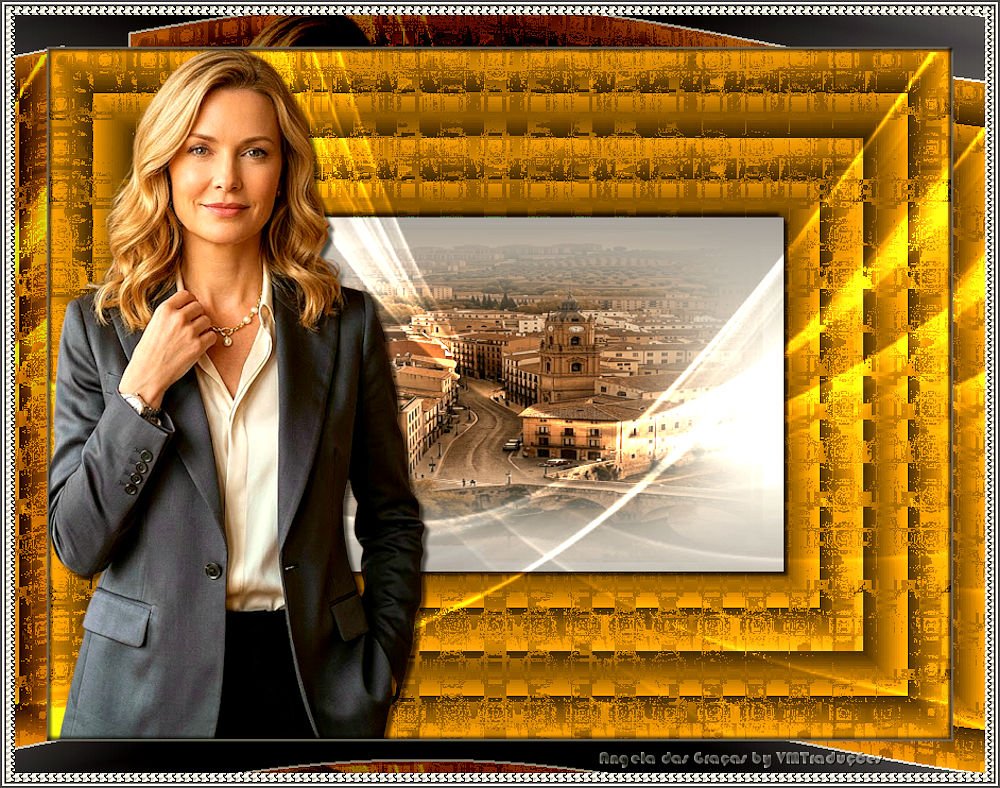
(minha versão)

This tutorial is from Angela das Graças who I thank for
letting me translate their tutorials.

Original here

Tubes

Material

Plugins
FF Gallery P - FF Gallery B -
You can find these plugins on the websites of:
Renée
Cloclo
You can also find this tutorial translated into these languages:
(Click on the flag)


|
Notes:
> Open the material / Duplicate (shift+d) / Close the originals
> Change the blend mode of the layers to match their colors.
> In older versions of PSP, Mirror Horizontal=Mirror / Mirror Vertical=Flip /
Pick tool=deformation
> Open the masks in psp and
minimize
>Adjust the size of the tubes according to your images
|
SCRIPT
Images:
1 female tube
1 landscape tube
***
1. Open PSP and the tubes
2. Copy the tubes
3. Paste as a new image and close the originals
4. Choose two colors from your tube. Set the dark color as the foreground
And the light color as the background
Prepare a linear gradient
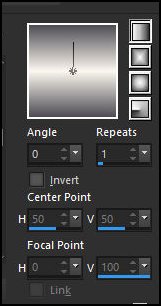
5. Open a new transparent image,
850x650
Fill with the gradient
6. Effects - Plugins - Unlimited 2 - FF Gallery P - Frame 25
Seamless
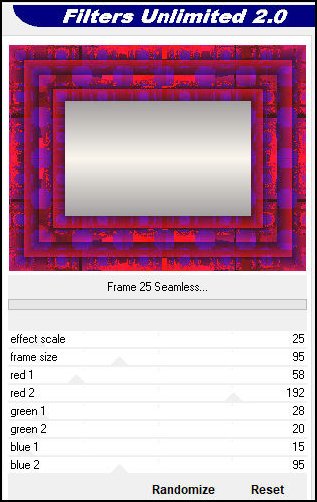
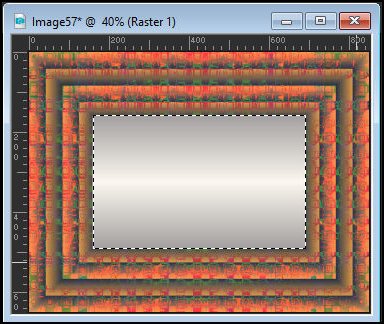
7. Activate the Selection Tool (rectangle) and select the central
rectangle as shown in the screenshot
8. Add a new layer
9. Copy the landscape tube and paste it into the selection
10. Selections - Invert
11. Activate the Raster 1 layer
12. Adjust - Hue and Saturation - Colorize (use colors that match
your image)
13. Selections - Invert
14. Drop shadow: 4 4 60 4 black
Repeat with negative V and H values
Select none
15. Activate the Raster 2 layer
Copy the female tube
16. Paste as a new layer
17. Drop shadow same as before [4 4]
18. Add a new layer
19. Fill with the light color
20. Layers - New Mask Layer - From Image - Mask [Narah-Mask-0427]
21. Merge group
22. Blend Mode: Dodge - Opacity: 60%
23. Image - Add borders - 2px - light color
24. Image - Add borders - 30px - any color
25. Select this 30px border with the Magic Wand (tolerance/feather=0)
Fill with the gradient
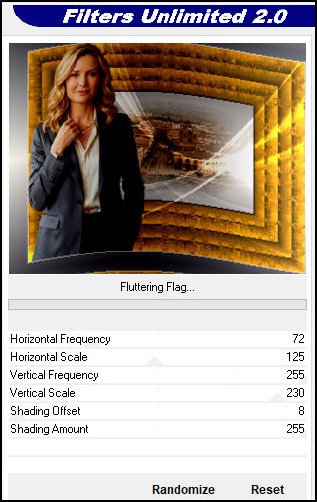
26. Effects - Plugins - Unlimited 2 - FF Gallery B - Fluttering Flag
27. Drop Shadow: 4 4 60 4 black
Repeat with negative V and H values
28. Select none
29. Image - Add borders - 8px - a color not used in the tag
30. Select with the Magic Wand
Fill with the color light
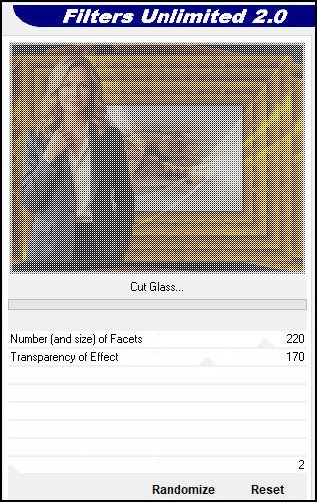
31. Effects - Plugins - Unlimited 2 - FF Gallery B - Cut Glass
32. Select none
33. Image - Add borders - 2px - dark color
34. Image - Add borders - 2px - light color
35. Image - Add borders - 2px - dark color
36. Add credits
Merge all
Save as JPEG

|