|
You will need
1 main tube
1 mixed landscape tube
*
Step 1
Original colors: Foreground: #f369fc - Background:
#7a0bc0
Open the alpha file [selezione1] / Duplicate (shift+d) /
Close the original
Effects/Plugins/Mehdi/Wavy Lab 1.1
colors: default
2
Step 2
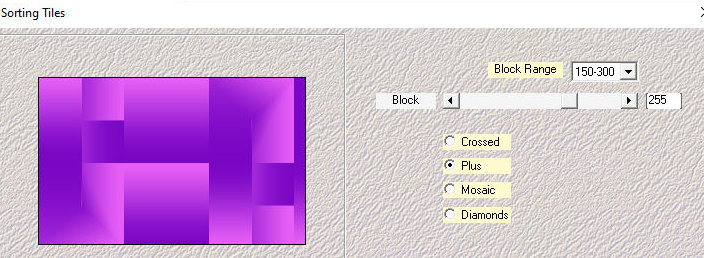
Effects / Plugins / Mehdi / Sorting tiles
3
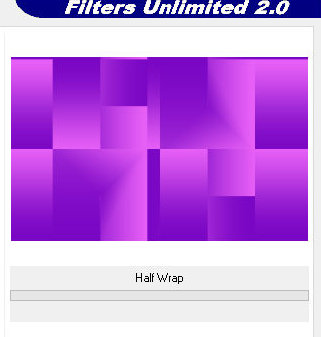
Effects / plugins / Simple / Half Wrap
4
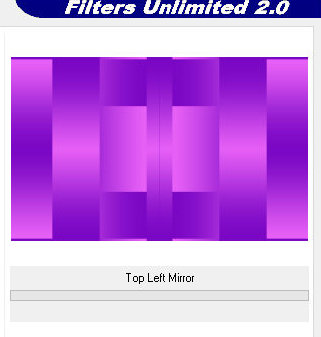
Effects / Plugins / simple / top Left Mirror
5
Effects / Plugins / Simple / Zoom Out and Flip
6
Effects / edge effects / Enhance
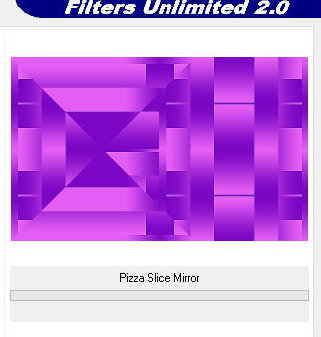
Effects / plugins / Simple / Pizza Slice Mirror
7
Image / Mirror / Mirror horizontal
Selections / Load selection from apha channel /
Selection [LV17selection1]
8
Selections / Promote selection to layer
Effects / plugins / AP [Lines] / Lines - Silverlining
9
Select none
Layers/Duplicate
Image /Mirror mirror Vertical
Merge down
Drop Shadow: 0 0 70 10 black
Close this layer
Step 3
Activate the background layer
Copy the tube [2359-MP(A.I.LValella24)]
Paste as new layer
Objects/Align/Left
Add new layer
Paint the layer with white color
Layers / New mask Layer / From Image / Mask [OBG-MASK-182]
10
Merge Group
Layers/Duplicate
Image / Mirror / Mirror Horizontal
Image / Mirror / Mirror Vertical
Merge down
Layers/Properties/opacity: +/- 45%
Add new layer
Paint with white color
Layers / New Mask Layer / From Image / Mask [NarahsMasks-1790]
11
Merge Group
Step 4
Activate and open the Promoted selection layer
Objects/Align/Right
Layers/Duplicate
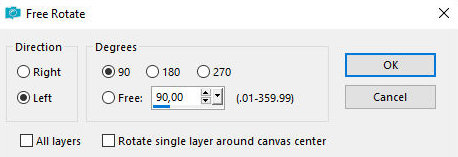
Image / Free Rotate
12
Image/Resize: 80% - all layers unchecked
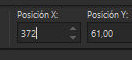
Activate the pick tool and configure; X=372 - Y=61 -
Press M
13
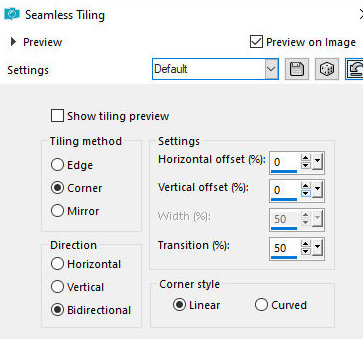
Effects / Image Effects / Seamless Tiling - default
14
Selections / Load selection from alpha channel /
Selection [LV17selection2]
15
Press delete
Select none
Effects / Edge Effects / Enhance
Layers / Properties / Blend Mode: Screen (or another
that matches your colors)
Layers / Arrange / Move down - 3 times (should be below
the mask layer)
Step 5
Activate the Promoted Selection layer
Effects / Plugins / Penta.com / Color dot
16
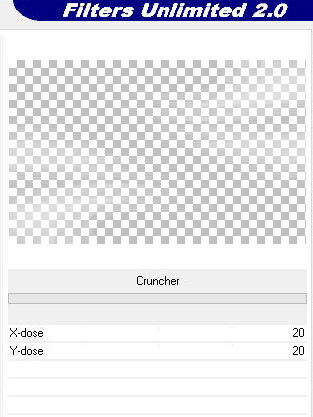
Effects / plugins / Unlimited 2 / BKG Designer sf10 I /
Cruncher
17
Layers / Arrange / Move down - 2 times (should be below
the mask layer)
Step 6
Copy the tube [viola element]
Paste as a new layer
Copy the tube [2409-TDA.I.@(LValella24)]
Paste as a new layer
Adjust the size
Position to the right as per the model
Apply a Drop Shadow of your choice
Layers / Arrange / Bring to top
Copy the title [Titolo]
Paste as a new layer
Position at the top left as per the model
Step 7
Borders:
1 px / #000000
Copy / Paste as new layer / minimize
Borders:
4 px / #b438ec
1 px / #000000
4 px / #b438ec
Selections / Select all
Border: 35px / any color
Selections / Invert
Maximize the reserved image above and copy it
Paste it into the selection
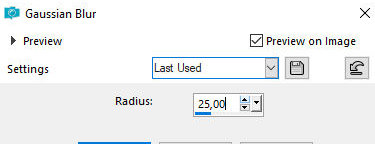
Adjust / blur / Gaussian Blur
18
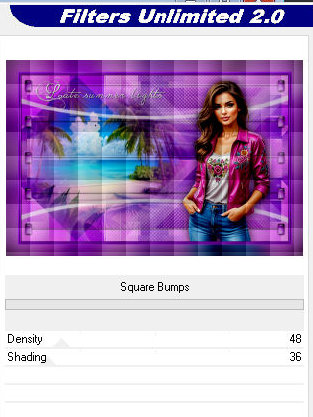
effects / Plugins / Unlimited 2 / Special Effects 1 /
Square Bumps
19
Effects / Edge Effects / Enhance
Select none
Borders:
1 px / #000000
4 px / #b438ec
1 px / #000000
4 px / #b438ec
1 px / #000000
Add signatures
Merge All
Save as jpeg
|