SCRIPT
You will need:
2 main tubes
2 landscape images
* Save the selection in the PSP selections folder
Save the pattern [goldtile] in the PSP Patterns folder or open
it on the desktop
*
1. Open a new transparent image with 900x600px
Colors used: foreground: #ffffff - background: #667c90
Paint the image white
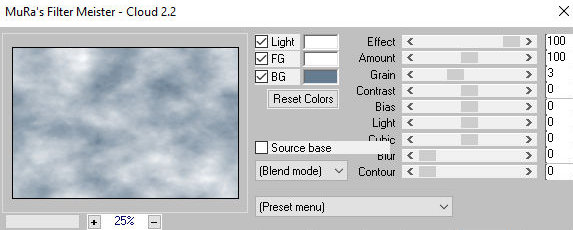
Effects / Plugins / Mura's Meister / Cloud
2. Open the first landscape in PSP
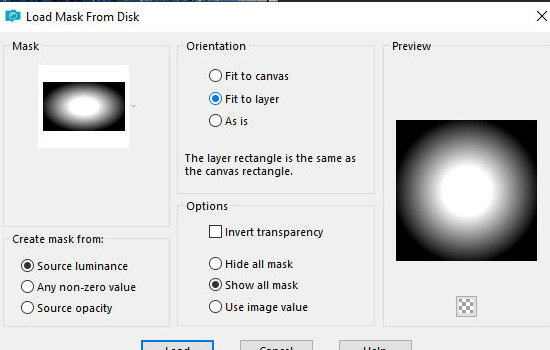
[77fa5a830c6b65e9001bec7dccb1976f] Layers / Load mask from disk
/ Mask [20 20]
Merge Group
Copy
Return to your main work
Paste as a new layer
Activate the Pick Tool and configure: X=-3 - Y=-66 - Press M
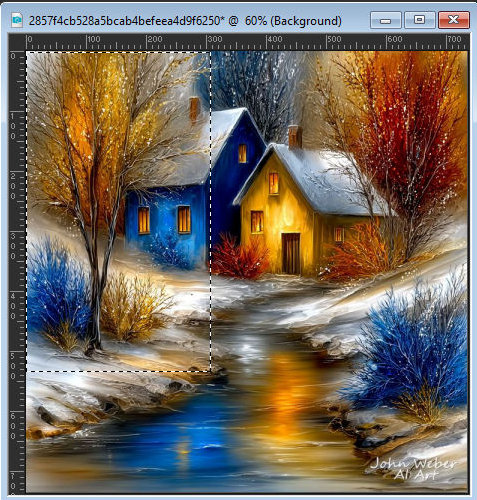
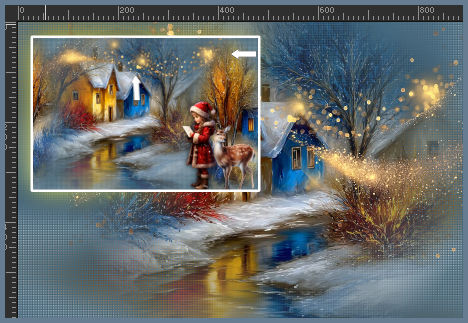
2b. Open the second landscape in PSP
[2857f4cb528a5bcab4befeea4d9f6250]
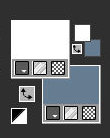
Using the Selection Tool (rectangle), make a selection on the
tree as shown in the screenshot.
(If using this image, it's already selected in the material (image-2))
Copy and paste as a new image. Layers / Load mask from disk /
Mask [20 20]
Merge Group
Copy
Return to your main image. Paste as a new layer. Activate the
Pick Tool and configure: X=639 - Y=5
Layers / Duplicate
Duplicate again. Image / Mirror / Mirror Horizontal
Activate the Pick Tool and configure: X=-177 - Y=-41 - Press M
3
Copy the tube [95737845496]
Paste as a new layer.
Image / Resize: 60% - all
layers unchecked.
Image / Mirror / Mirror
Horizontal
Position according to the model.
Drop shadow: 0 0 80 30 black
4
Copy the tube [Deer_1]
Paste as a new layer
Image / Resize: 30% - all layers unchecked
Layers / Arrange / Move down
Position as per model
Drop shadow: 0 0 80 30 black
Merge visible
Copy
5. Save this work in jpg format. We will use this later
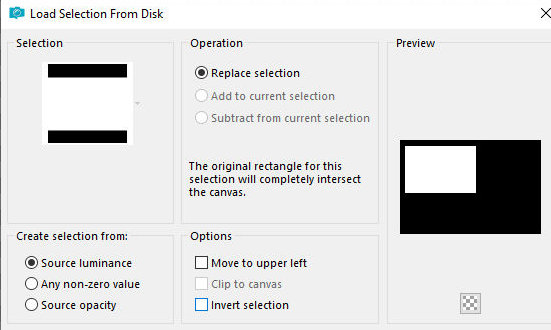
6. Open a new transparent image with 900x600px
Selections / Load selection from disk / Selection [sel_1.11.25_navidad_stella]
Copy the saved image above and paste it into the selection
Selections / Invert
Add a new layer
Layers / Arrange / Move down
7. Copy the image [77fa5a830c6b65e9001bec7dccb1976f]
Paste it into the selection
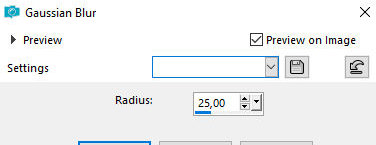
Adjut / blur / Gaussian Blur: 25
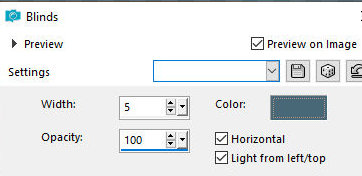
Effects / Texture Effects / Blinds - Color #486878
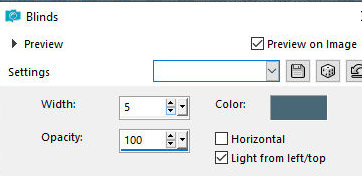
Repeat the blinds with this setting
8.
Selections / Invert
Selections / Modify / Expand: 3
Add a new layer
paint it with white color
Select none
9.
Activate the landscape image
Layers / Load mask from disk / Mask [20 20]
Merge group
Copy
Return to your main work
Paste as a new layer
Activate the Pick Tool and configure: X=143 - Y= -39
Layers / Arrange / Move Down
10. Add a new layer
Layers / Arrange / Move down
Selections / Select all
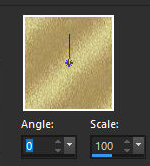
Copy the texture [zendorado]
Paste into the selection
Effects / Plugins / adjust / Variation
- click 3 times on more yellow
- click 1 time on darker
- click OK
Layers / Arrange / Move Down
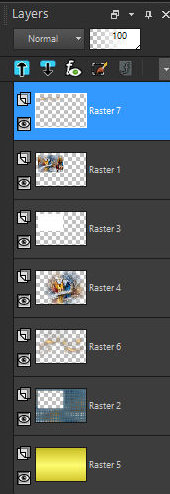
The layers will look like this:
Select none
11.
Activate the landscape layer - Raster 4
Copy the image [Golden_Glitter_1XX_Silvie_02.10.20234]
Paste as a new layer
Position according to the model: Objects / Align / Top
12.
Open the image [Golden_Glitter_1XX_Silvie_02.10.20234]
Make a selection of this image (the image is already selected in
the material)
Copy
Activate the top layer of the main image
Paste as a new layer
Image / Resize: 50% - all layers unchecked
Position it at the top of the frame as shown in the model (Do
not let any part overlap the white border)
Author's note: Depending on the background color, you may need
to apply a 20x20 mask to the image to avoid unwanted shadows at
the bottom. Once applied, you can duplicate the image if desired.
13.
Copy the text [Riet tekst
wonderfull time1183-221224]
Paste as a new layer
Position it at the bottom left as per the model
Drop Shadow: 1 1 80 2 #758c9c
Drop Shadow: 0 0 80 30 black
Adjust / Sharpness / Sharpen
Author's Note:
- The author applied a gold texture and it is in the material.
- You can also do: Selections / Select All - Selections / float
- selections / defloat - paint with a texture of your choice.
14
Copy the image [a56f6bc798ed4521f1c0b755db5b1c1c]
Paste it as a new layer
Position it at the bottom left as shown in the model
Drop Shadow: 0 0 80 30 black
Adjust / Sharpness / Unsharp Mask
Copy the tube [bolas-nieve]
Paste it as a new layer
Position it as shown in the model
If it overlaps any tube: Layers / Arrange / Move down
15. Activate the landscape layer - Raster 4
Layers / Duplicate
16.
Merge visible
Border: 3px / white
Select this border with the Magic Wand (tolerance/feather: 0)
The other border will also be selected, otherwise select it
(close some layers if necessary)
In the color palette, click on Pattern / Select the Pattern [goldtile](foreground)
If it doesn't appear in the list / Open it in the workspace and
Minimize
Paint the selection with this pattern
Adjust / Sharpness / Sharpen
Select none
17.
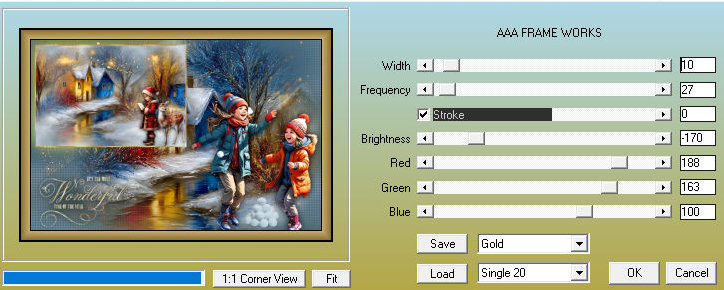
Border: 15px / white
Select this border with the Magic Wand. Effects / Plugins / AAA
Frames / Frame Works - width: 10
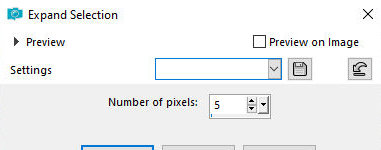
Selections / Invert
Selections / Modify / Expand: 5
Selections / invert
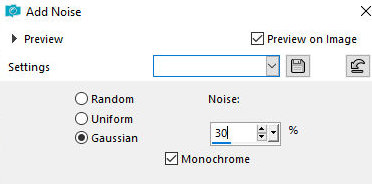
Adjust / Add / Remove Noise / Add Noise
Select none
18.
Add the signatures. Merge all
Save like jpeg